Gorgias is a fantastic customer service platform. Whether you’re new to it and trying to move over your knowledge base or an existing user and want to add more knowledge bases, eesel AI offers easy integration solutions.
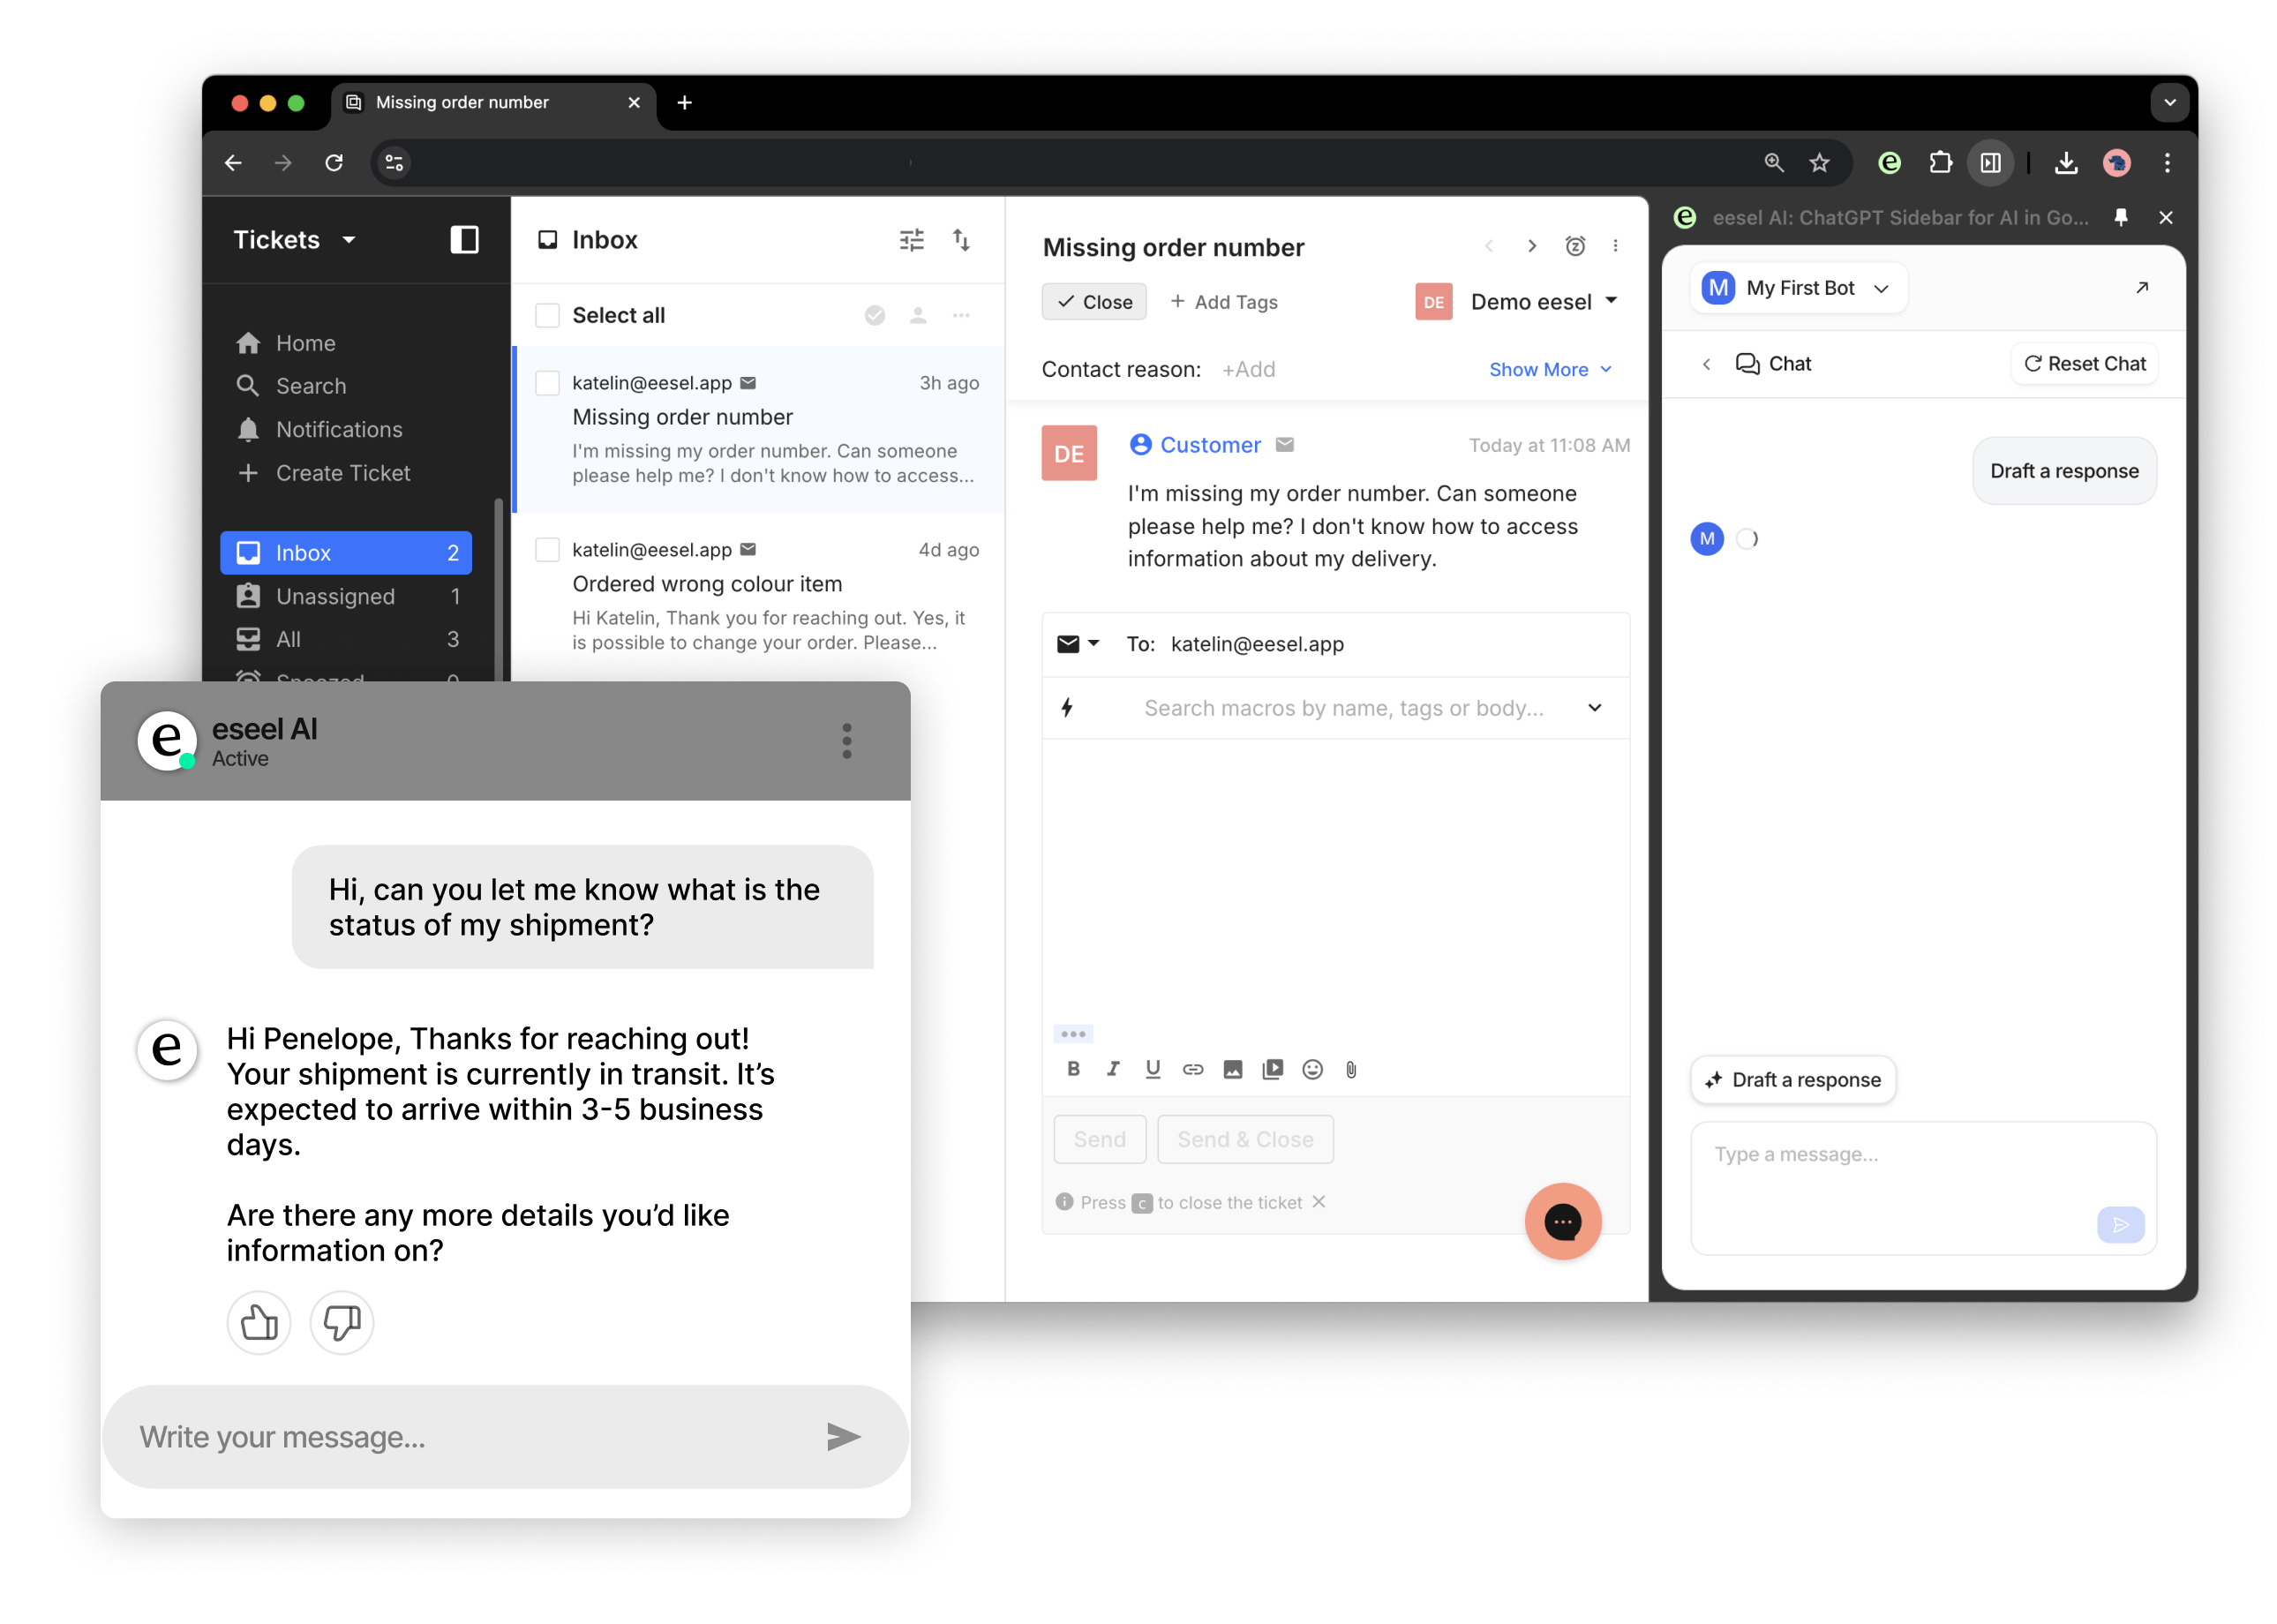
Your live agents gain the ability to quickly search through multiple sources to find the most accurate answers, meaning your customers get quicker answers, allowing them to leave happy and willing to do business with you again.

You can also use Google Docs to create a website livechat about all your company info, and connect it to your Shopify or other ecommerce platform to keep your customers up to date on the latest info about your products and their order tracking.
How do I integrate Gorgias with Google Docs?
Before we get into it, it’s important that you know our terminology, namely: Sources and Destinations.
A Destination is where your eesel AI will chat with users – like your web page or inside Gorgias.
A Source is something you will use to train eesel AI, like Google Docs, your help center, or past Gorgias tickets.
We’re going to walk you through creating a bot, adding Google Docs as a Source of information for this bot, and using it with your Gorgias or as a chatbot for your website. You can also train the same bot on multiple other Sources – you aren’t just limited to one! You can train this bot on your Shopify or Big Commerce products and many more.
Step-by-step setup guide:
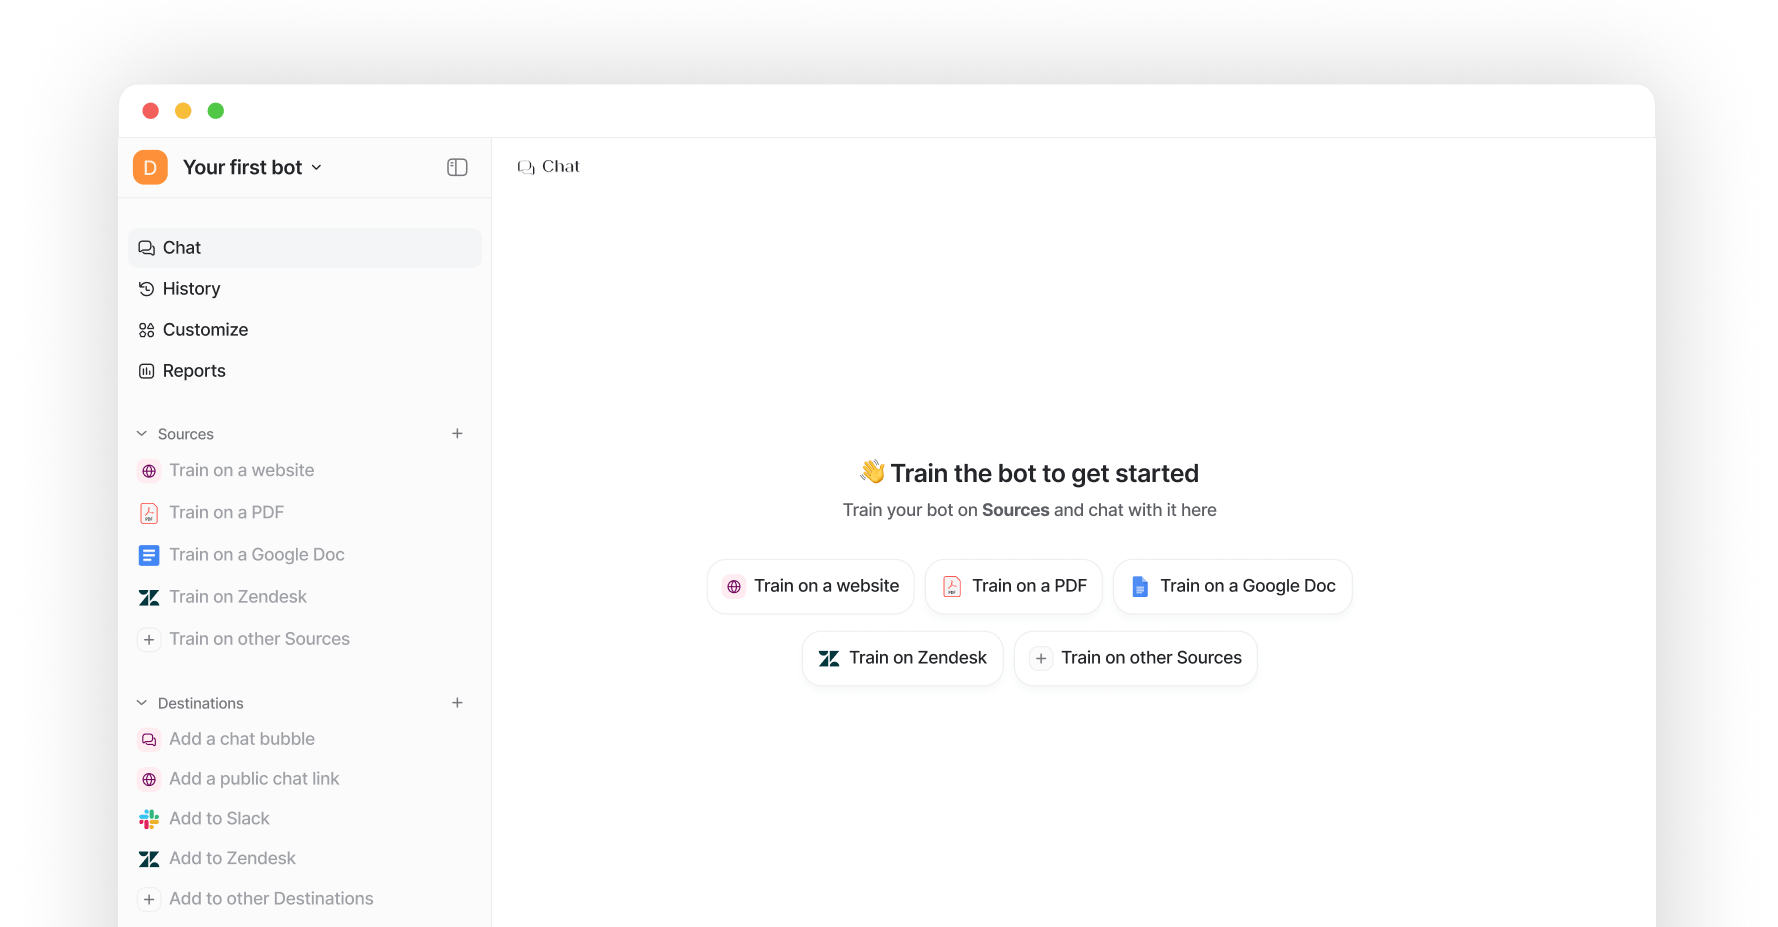
- Sign up or log into your eesel AI account and make your way to the dashboard and select the bot you’d like to train.

2. Click on the “+” button next to “Sources” on the sidebar.

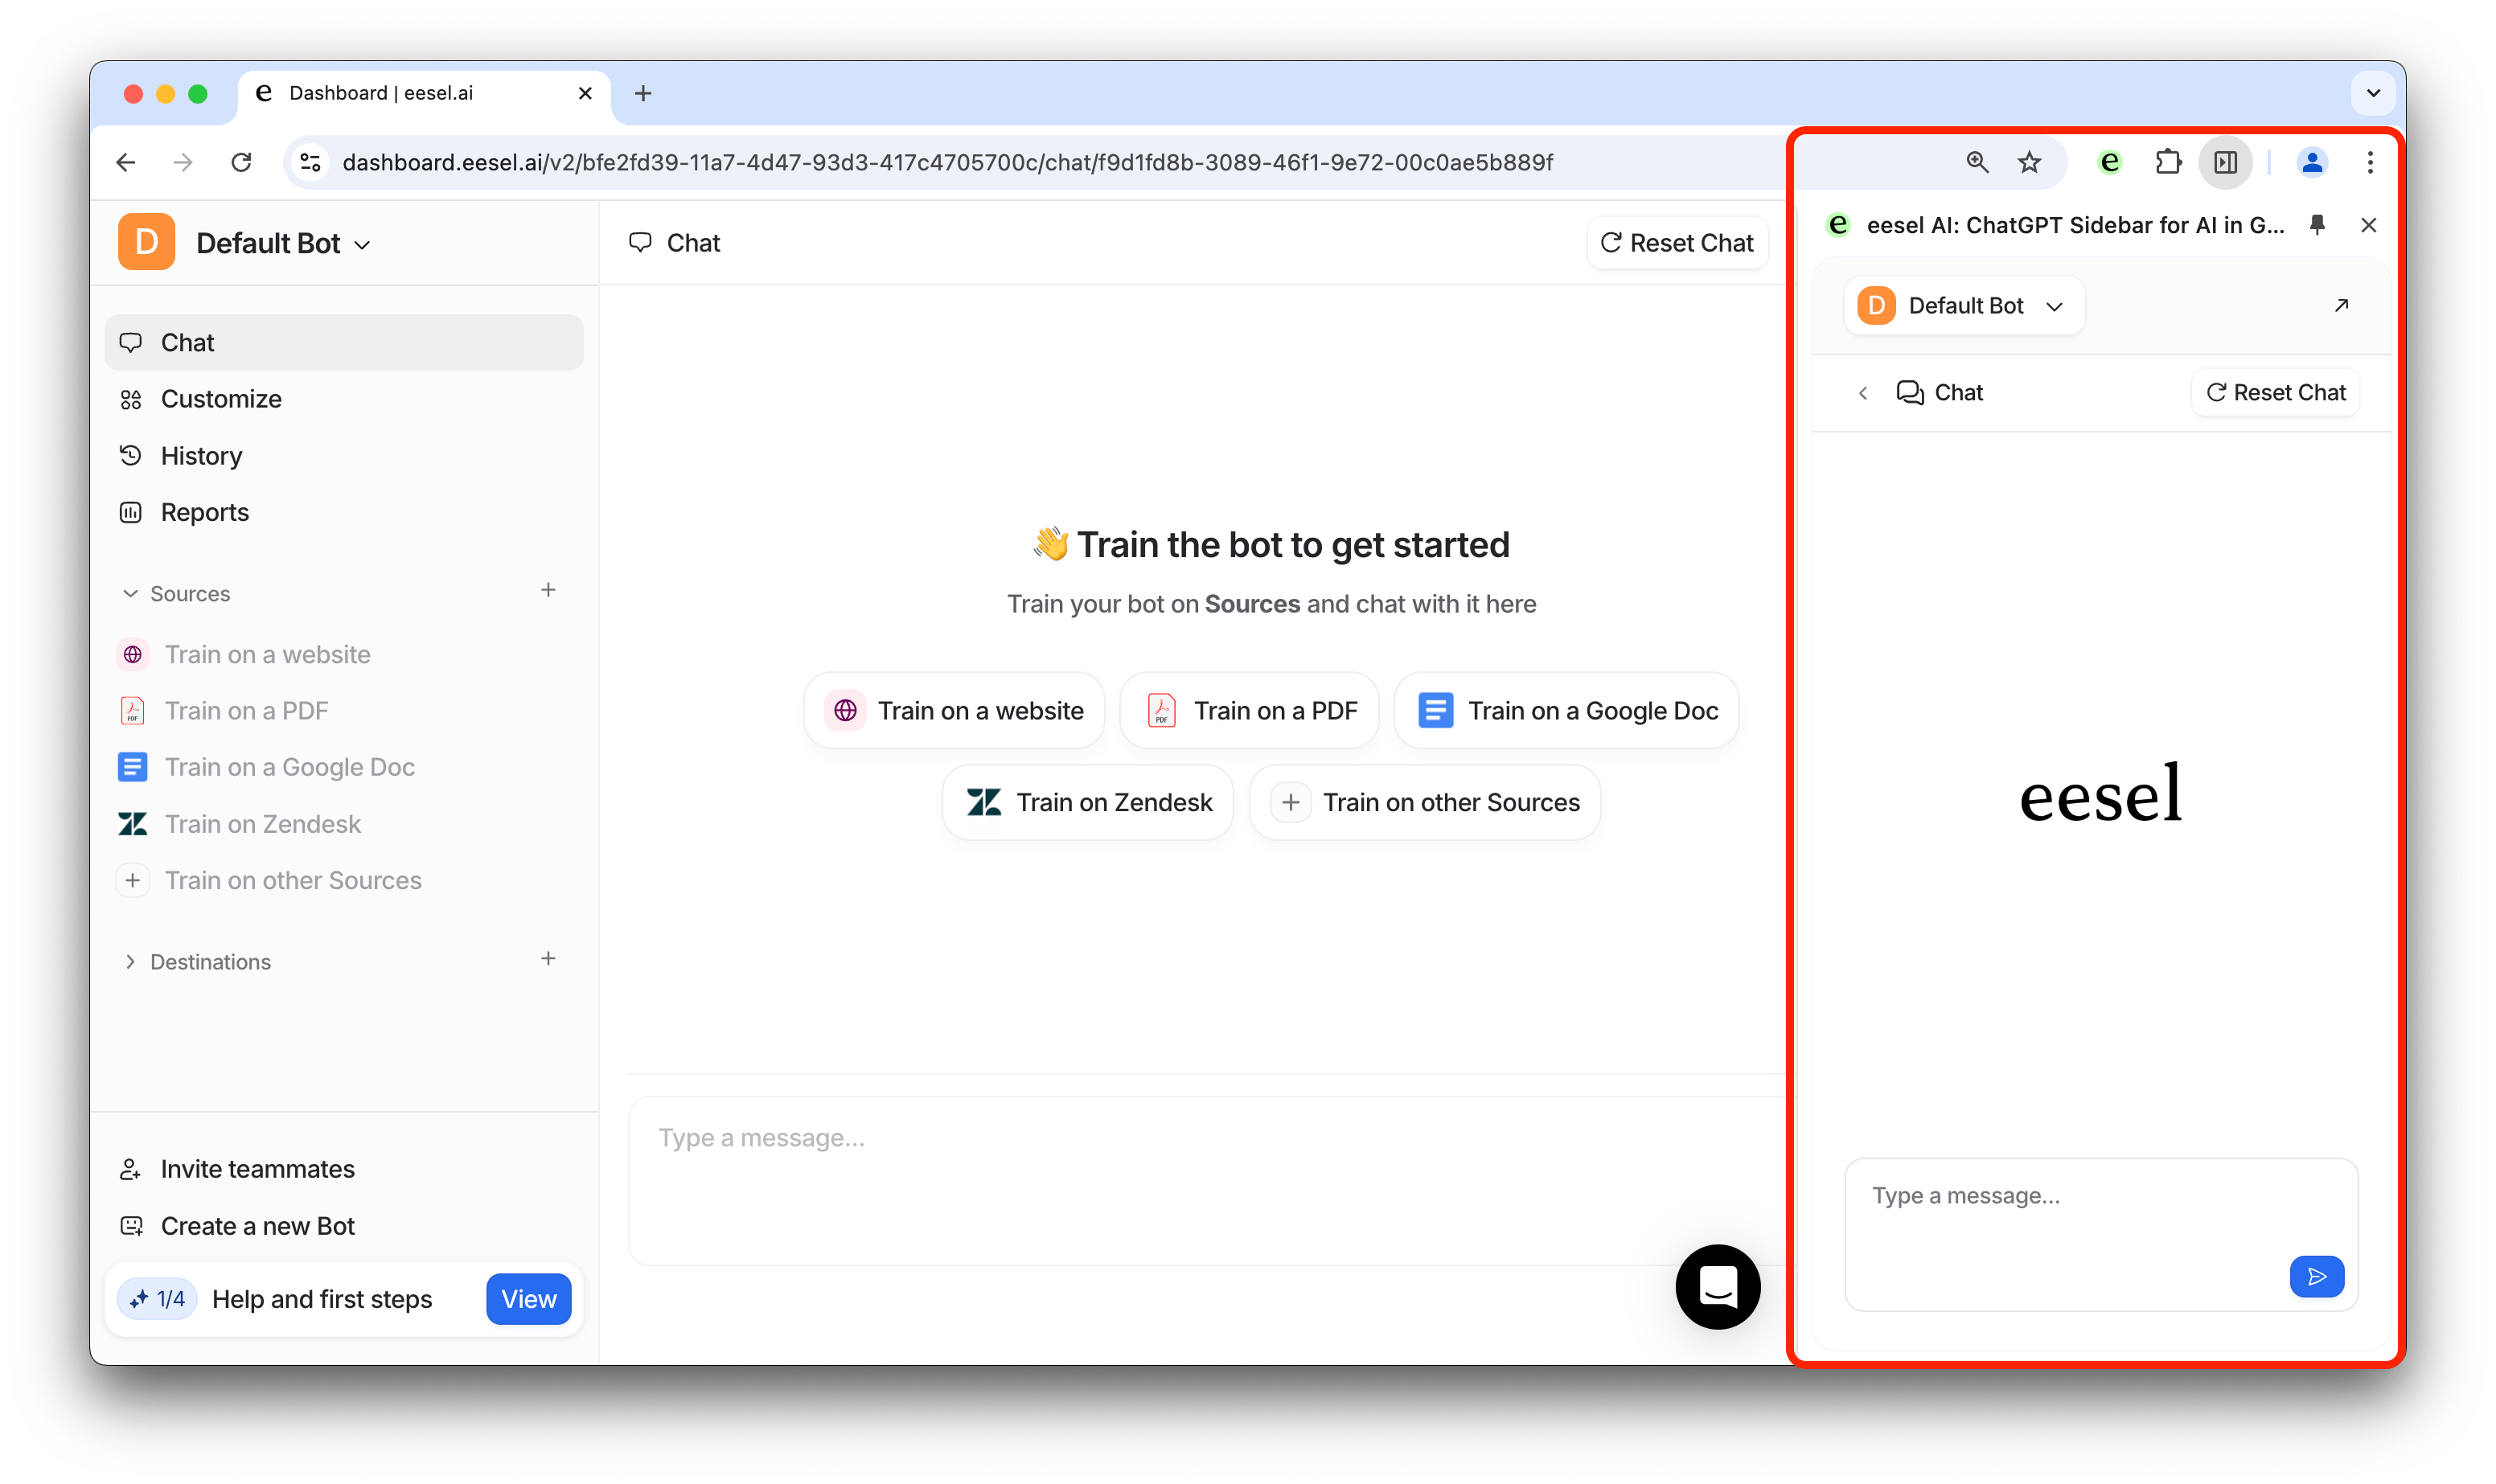
3. Select or search for Google Docs. Click “Install browser extension”. Follow the instructions and open the extension.

4. Open the Google Docs that you’d like to train your both with, and on the eesel AI extension click “Add sources”, then either “Add current tab” or “Add all tabs in window”.

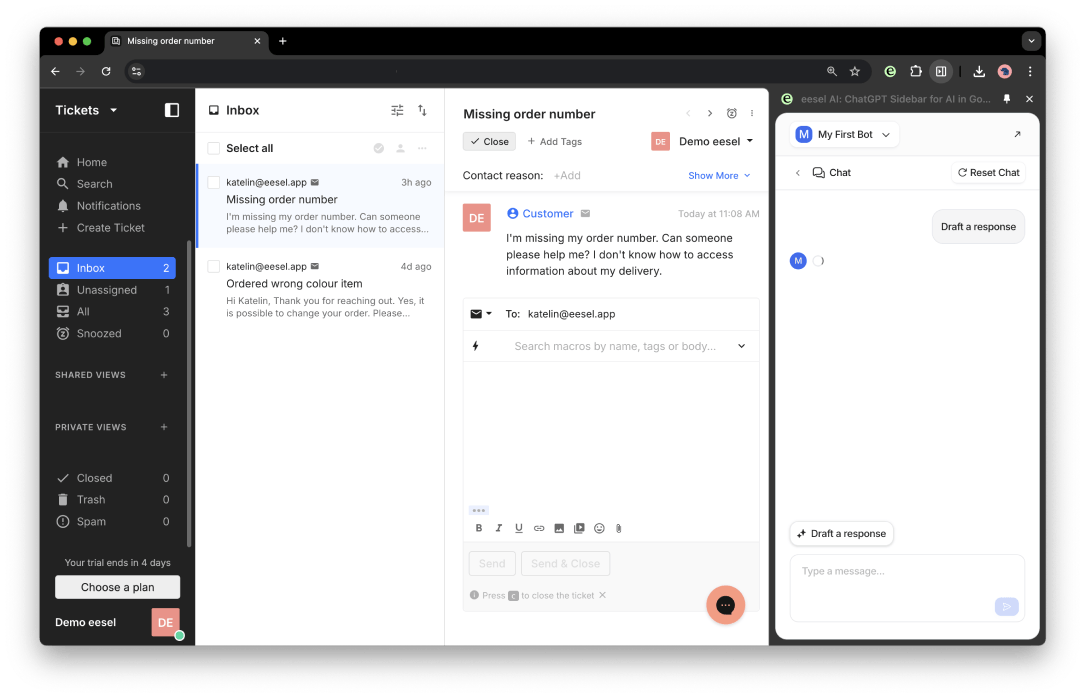
5. Navigate to a Gorgias ticket and open the eesel AI extension, click on “Chat” and “Draft a response”.

6. You can also use this bot, or a new bot specifically for your customers, to create a chat bubble on your site. Simply navigate to the Destination section of the dashboard and select chat bubble. Follow the prompts to copy and paste the code snippet to your site!

For any other questions contact us here, or sign up for a 7 day free trial!


